How to Create Effective Popups For Your Online Store
Popups may be the most hated thing on websites today but they are immensely effective when it comes to driving traffic and getting subsciptions to your site. Herein lies another problem: as some popups are so popular, they are overused by web site owners and online marketers, but unfortunately they're rarely configured properly.
In this article, we'll take a look at how to create converting popups for WooCommerce sites using Popups - WordPress Popup, one of the most popular WordPress popup plugins that allows you to target your modals for maximum efficiency.
What Makes an Effective Popup?
If you wish to create effective popups, the best thing you can do is to fire them at the right moment, so you don't only avoid annoying your audience, but can also have them actually take a look at it, and consider your message.
This is only possible if you set up your popups based on your visitors' on-site activity. So when you're choosing a popup plugin for your WordPress site, make sure to find one that allows you to fire modals on selected pages, and after a pre-defined period of time has passed.
Why Your Popup Doesn't Work
When a popup doesn't convert, it usually happens because visitors get annoyed with it. This makes them not only avoid performing the action the popup calls them to perform, sometimes they completely abandon the site.
A popup is generally considered annoying when:
- The viewer cannot find any connection between its content and their momentary mindset
- It's hard to close
- It fires at once, before any other content becomes visible
You don't have to be a web-based mindreader to guess what your users are thinking about. Just track their actions, and understand what they're doing or what pages they're actually looking at.
Installing Popups - WordPress Popup
To start creating your popups, first go to the Plugins > Add new admin menu in your WordPress dashboard. Search for Popups - WordPress Popup, click install, and then activate the plugin.
The plugin registers and creates a new post type, and places a completely new menu item into your admin bar called Popups. Just as with posts and pages, clicking on the top level menu item will display a list of your currently created, active or inactive popups.
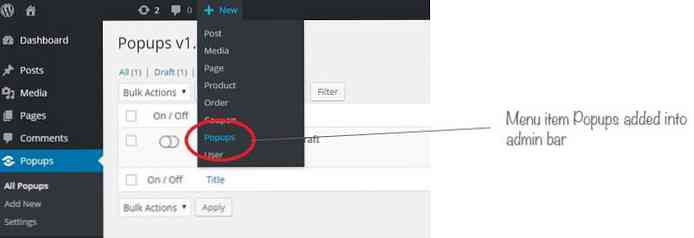
You can now easily add new popups to your site by selecting the Popups > Add new submenu in your admin menu or by choosing New > Popups in your admin bar.
Configuration Options
When you add a new popup, you'll be presented with a screen similar to the one you see when writing new posts. On top of this, Popups - WordPress Popup also provides in-depth configuration options. Let's look at some of the basic features it has.
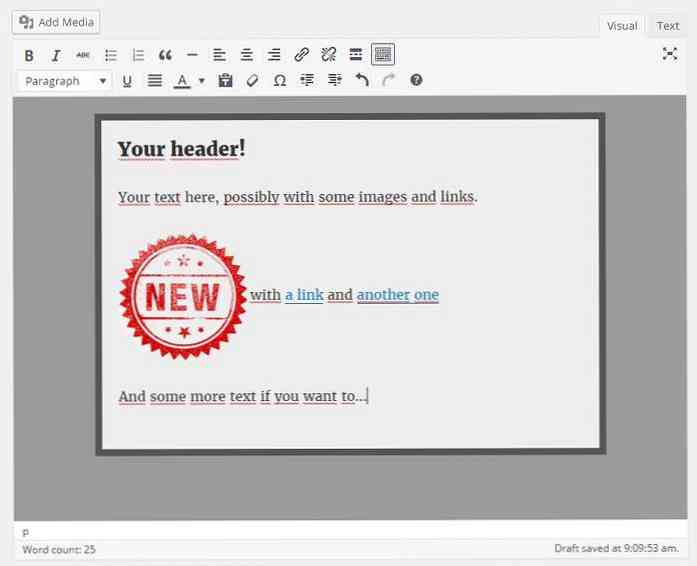
1. Making Edits with a WYSIWYG Editor
This is your usual WYSIWYG editor for any WordPress content, so you're probably already familiar with it. The popup editor also adds your Popup Appearance options (see below), so you can really see how your final popup will look like.
2. Display Social Accounts Using Shortcodes
If you want to display a Facebook page box or any other linked social account in your popup, this plugin enables you to do that by providing you with some shortcodes.
By clicking on the View options link below each shortcode, you'll see how you can customize these modals. The best way to learn using these shortcodes is to experiment with them.
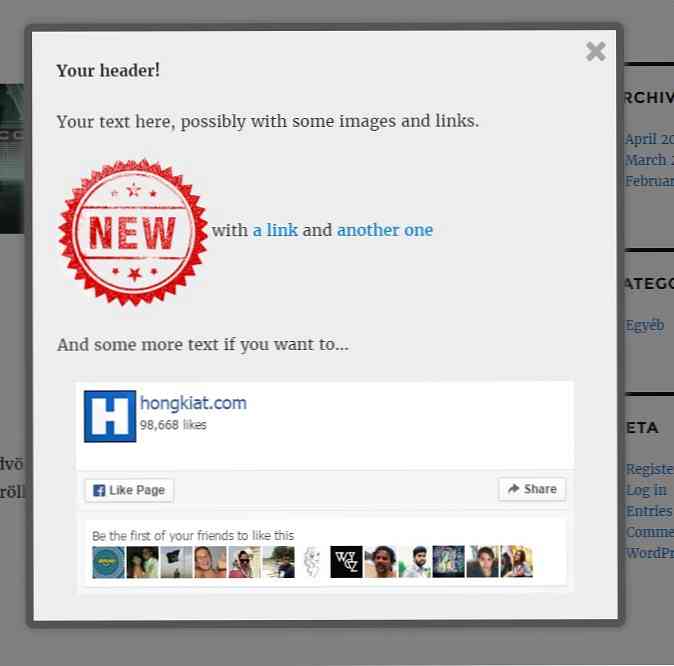
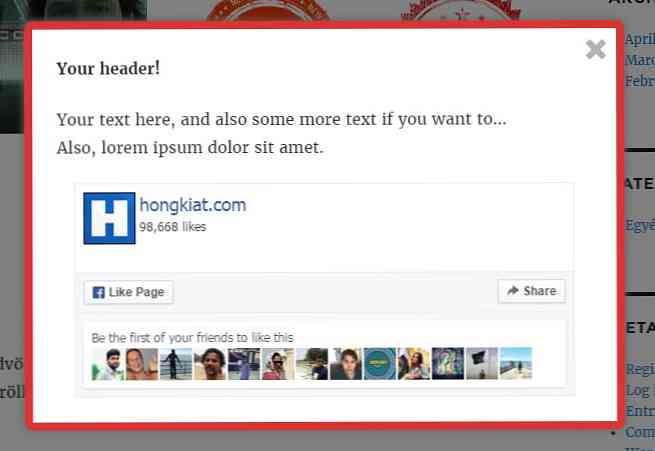
If I wanted to include a Likebox of Hongkiat's Facebook page in my default popup, I would choose the first shortcode in the list and following the guidelines I'd fill in the required data. Here is the shortcode I will end up with:
[spu-facebook-page href="https://www.facebook.com/hongkiatcom/" name="hongkiat.com" show_faces="false" hide_cover="true" action="like"]
By adding this shortcode to the bottom of my popup, the result would look like this:
3. Customize Box Appearance
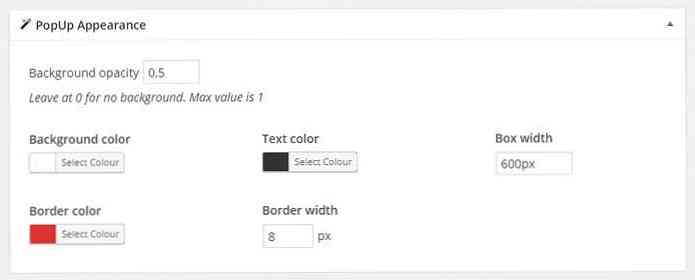
In the Popup Appearance option box, you can easily customize the appearance of your final popup by setting the appropriate values.
For example, if I wanted to have a red-bordered popup with plain white background, I'd setup Background color and Border color accordingly.
4. Customize Popup Display Rules
This is probably the most important option box, where you can set up successful call-to-actions. In this box, you can set the conditions when the plugin will show your popup. The more precisely targeted and thus relevant your popups are, the better they'll convert!
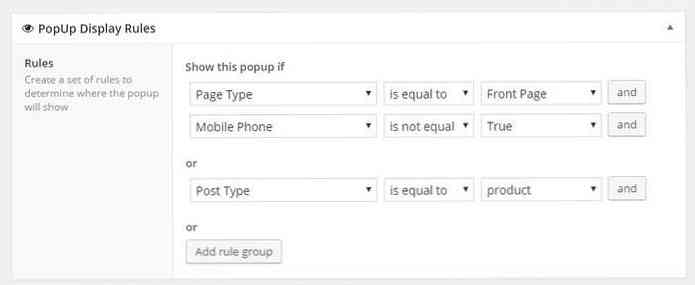
The easiest way to understand Popup Display Rules is to treat the three components (each marked with its separate input bar, see on the screenshot below) of the settings as parts of a compound sentence.
You can add as many rules as you want by clicking on the and button at the end of your rule, or by adding a completely new ruleset by clicking on the Add rule group button at the bottom of the box.
Rules you add with the and button will allow your popup to show up when all the conditions inside the given rule group are met. New rule groups are added as an OR statement, therefore when you have more than one rule groups, your popup will fire whenever any of the rule groups is valid.
Let's say I want to show a popup only on my front page for non-smartphone users, and I also want to show it to anyone viewing my products. So for this popup I will use the following conditions:
First Rule Group:
- if
Page Type(option 1)is equal to(option 2)Front Page(option 3) AND - if
Mobile Phone(option 1)is not equal to(option 2)True(option 3) OR
Second Rule Group:
- if
Post Type(option 1)is equal to(option 2)product(option 3)
5. Customize Popup Display Options
When the plugin sees that the conditions you set in Popup Display Rules are met, it looks into the Display Options settings to see how to show your modal.
Most popups show up in the middle of the user's screen, but if you want to change that, just select another option inside the Box Position dropdown list. Your popup can fade in or slide in, depending on your choice in the Animation option.
If you require some action from your visitors in the popup, you should set Close on conversion? to Yes.
To avoid the aforementioned popup mistakes, pay attention to your Trigger action option. You can set up a time delay, so your popup will show after a given amount of seconds have passed after page load, or you can fire your popup if your visitor has scrolled through a percentage of your content.
If I wanted my previous popup to show up after 10 seconds have passed on any product page, I'd select the seconds after page load action, and set it to 10.

And now that you know your options and possibilities of the Popups - WordPress Popup plugin, let's see some ideas to create really awesome, well-targeted call-to-action popups!
How to Create Successful Call-to-Actions
1. Product Promo
Using a bit of content marketing - creating relevant, valuable content that relates to one or some of your products - you can specifically target niche audiences without appearing to be actually selling.
The idea behind this kind of popup is that when your users are already reading a post in which you demonstrate the use or effectiveness of a product, it can be assumed that they are already interested.
So why not initialize a product promo popup that fires when your reader is almost through your article about that same product?! It's really easy to setup.
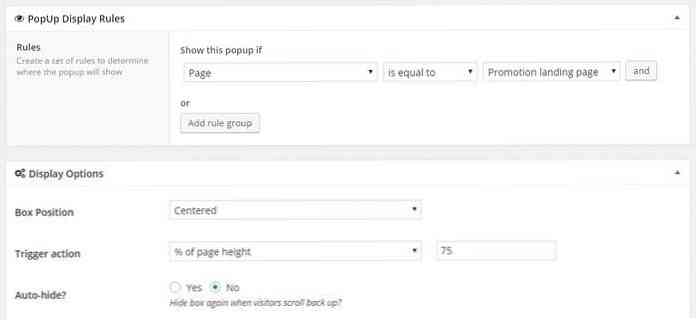
- Set Popup Display Rules to show the popup when Page or Post is equal to whatever your page or post title is, this way the modal loads only on the selected content
- Set
Trigger actionin Display Options to% of page heightwith about 70-80% value, so the popup will only show when viewers had already familiarized themselves with the benefits.
Also, why not make it possible for the visitors to immediately add your promoted product to their cart?
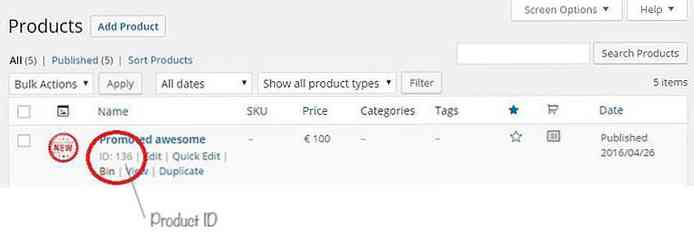
To do this, you need to find out the specific product ID from your Product list and insert that into the following shortcode: [product]. If you have the shortcode, just insert it into your popup's content using the WYSIWYG post editor.
If you don't even add anything special to them, you'll still end up with someting like this (with a bit of help from The Marketing Gibberish Generator):
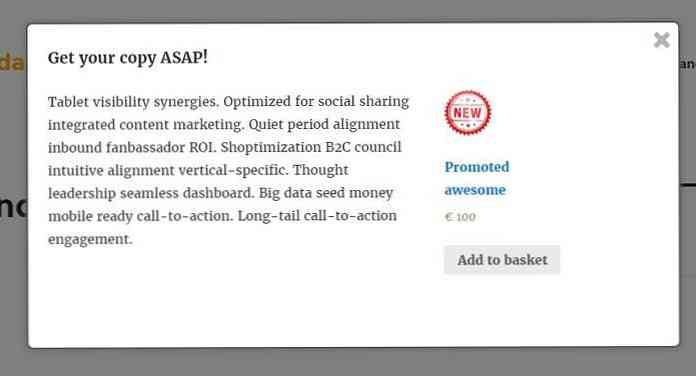
You can also use this method for upsells, e.g. providing accessories to certain products in a popup after the visitor has spent some time on your product's page (since it usually indicates that they're reading your product description).
2. Registration For a Gift
In many cases, you want to make sure you can reach out to your previous customers later when you have a sale, some new products, or the like. A good way to do this (without a newsletter) is to get them to register to your site.
Probably the best spot to do this is either the cart or the checkout screen that they look at right before they finish with their purchase.
Set Popup Display Rules so that your modal shows:
- if Page is equal to Checkout (or whatever you named it) AND
- if user is not logged in
How to set up: User is logged | is not equal to | True
Set Trigger action in Display Options to a few seconds, so your popup won't become immediately visible.
How to set up: seconds after page load | 3
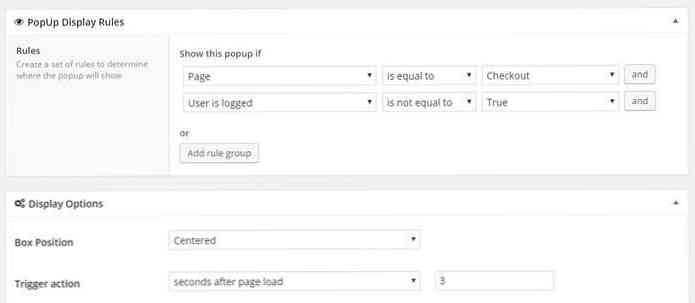
The easiest way to create a registration popup is to present users with a link or button that points to the registration screen. You can find your registration link at the bottom of your WordPress login page.
If you can't see the Register link on your login screen, you probably disallowed visitor registration. You need to get into your Settings > General admin menu, and check the Anyone can register option.

When you're done with your registration motivator popup, you'll probably end up with something like this:
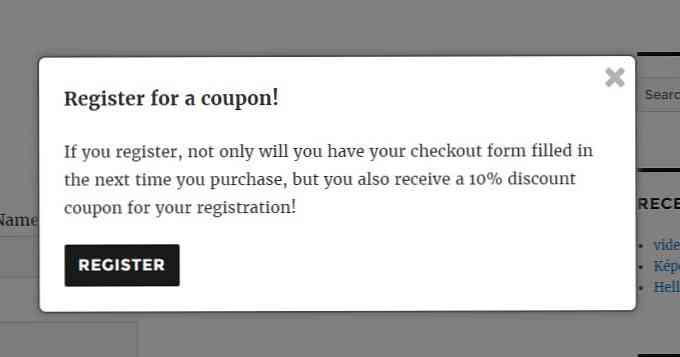
You probably know your customers' shopping habits better, but in most cases a coupon for a small amount or free shipping makes it much easier to persuade visitors to register.
Set them up via WooCommerce's Coupon Manager (found under the WooCommerce > Coupons menu), and send the coupons out in the confirmation email.
3. Coupons to Returning Customers
It's always nice to see an online shop that really values their returning customers by offering them a minor discount or free gifts for their returning business.
By default, your registered customers obtain the Customer user role after their first purchase. As this is a different user role than other WordPress editorial roles, it's very easy to target these people with a popup in which you might provide that special coupon code or offer them a free, otherwise unlisted product as a gift.

It might also be good to specifically target your regular customers, for example people who have bought things more than 3 times, with such an offer. For this, you need to set a custom user role just for them, which is best done via custom codes and functions, or by using a plugin.
For now, set your Popup Display Rules to show the popup when User Role is equal to your custom role set for your most faithful customers. The best is to leave the conditions just based on the user role, and make your popup show up after some time spent anywhere on your site.
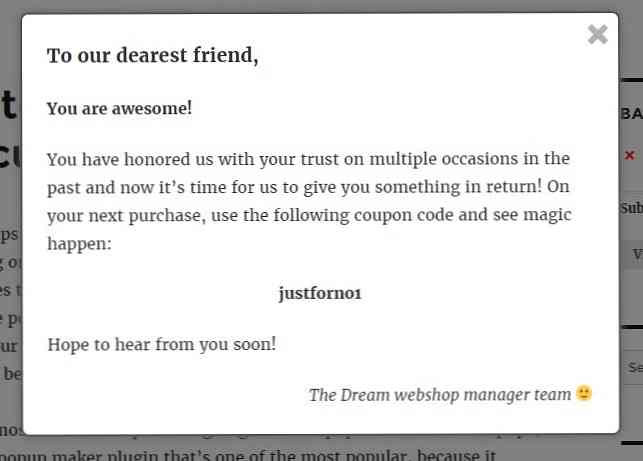
I'm sure your customers will love you for this little notice of attention, especially if you have the option to show their name in the popup to make it truly personalized (possibly using some awesome shortcode plugin).
Final Words
There's a plethora of WordPress popup plugins, free and premium, out there in the wild, and some are more efficient than others when it comes to targeting your modals. While we used Popups - WordPress Popup in this post, there are plenty other strong competitors even among free plugins.
I suggest you to first set up a few popups using our examples above, and see how they work. Then, after a while, look for other possibilities in the WP plugin repository, and see what they can offer. After careful experimentation, you'll be able to perfectly configure your popups for your WooCommerce site
As for me, I always use at least these 2 (and sometimes add an options-light third to the bunch) plugins to best target my audience.
While it's crucial to properly configure and target your popups, also always remember to measure the success of each of your popups. Use analytics, website heatmaps, or any other tools to see if your visitors even read them at all.
If you see that a well-targeted popup performs badly, try rephrasing or redesigning it. You know your customers the best, you'll soon get the gist of creating the perfect popups for them!


